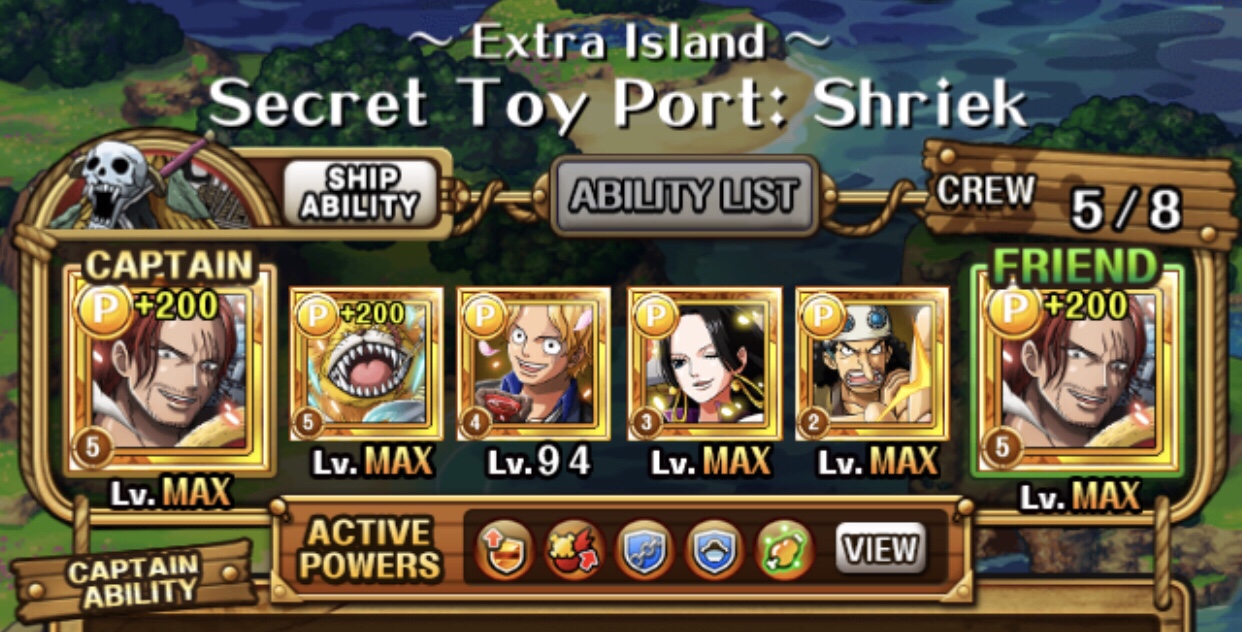
vs STR & INT
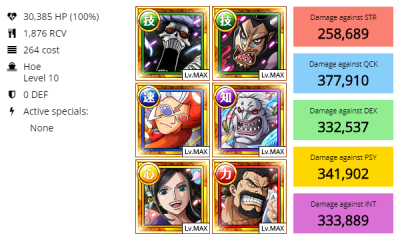
Strategy vs STR:
Stage 1: clear in 2 turns
Stage 2: clear in 2 turns
Stage 3:
- use Hody on turn 1,
- skip turns until you die and revive,
- Robin post-revive,
- Magellan+Inazuma the next turn,
- then use Garp once they drop below 25% HP (takes 6 turns total for 25%)
Hody is replacable by RR Ain.
If your specials aren’t maxed you obviously need to stall more on stage 1 (maybe 2 as well).
Make sure you have Garp on the bottom row vs STR as the middle row gets blown away.
Strategy vs INT:
Stage 1: Clear in 1 turn.
Stage 2: Clear in 1 turn.
Stage 3:
- Die first.
- Then use Hody special post-revive first turn,
- Magellan+Inazuma 2nd turn and
- Robin 3rd turn.
Also git gud and hit your perfects while blinded.
vs QCK
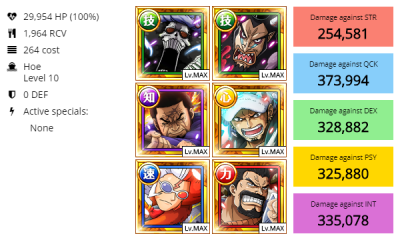
Stage 1: clear in 2 turns
Stage 2: Use Law special, then kill on the same turn(matching orbs on subs may help)
Stage 3:
- Die.
- Post-revive use Fuji, Magellan and Inazuma specials.
- Skip/tank 3 turns,
- then use Garp to finish.
YOU NEED LEGEND CORAZON SUPPORT LVL 5 ON LAW!!!


 Coli Lucy + Lucy 6* o stage 4 turn 1, Sanji turn 2